How to Combine SVG Files into One Layout
Build an icon sheet or multi-part layout from several SVG files using one editor canvas.
In this guide 6 sections
Combine multiple SVG files in the SVG editor by importing them onto one artboard, arranging each graphic, and exporting one SVG. This workflow keeps layout, recoloring, grouping, and custom path edits in the same workspace.
This guide focuses on a sheet of separate graphics, such as a set of icons for a slide or reference board. For a symbol and wordmark assembled into one logo, follow the worked merge SVG tutorial.
1. Plan the output before importing
Choose New design if an earlier draft is loaded. Set a canvas preset or custom width and height to match the intended output. A landscape artboard works well for a row of icons, while a square may suit a compact reference sheet.
For a simple example, use an 800 × 600 artboard with four graphics in two rows. Leave room for margins and labels rather than filling every available pixel. Turn off Upload → Match canvas to first SVG when your chosen artboard should stay the same size.
2. Import each SVG onto the shared canvas
Use Import SVG, drop files into the editor, or paste SVG markup. All imports share one canvas; this does not create separate pages or separate export files.
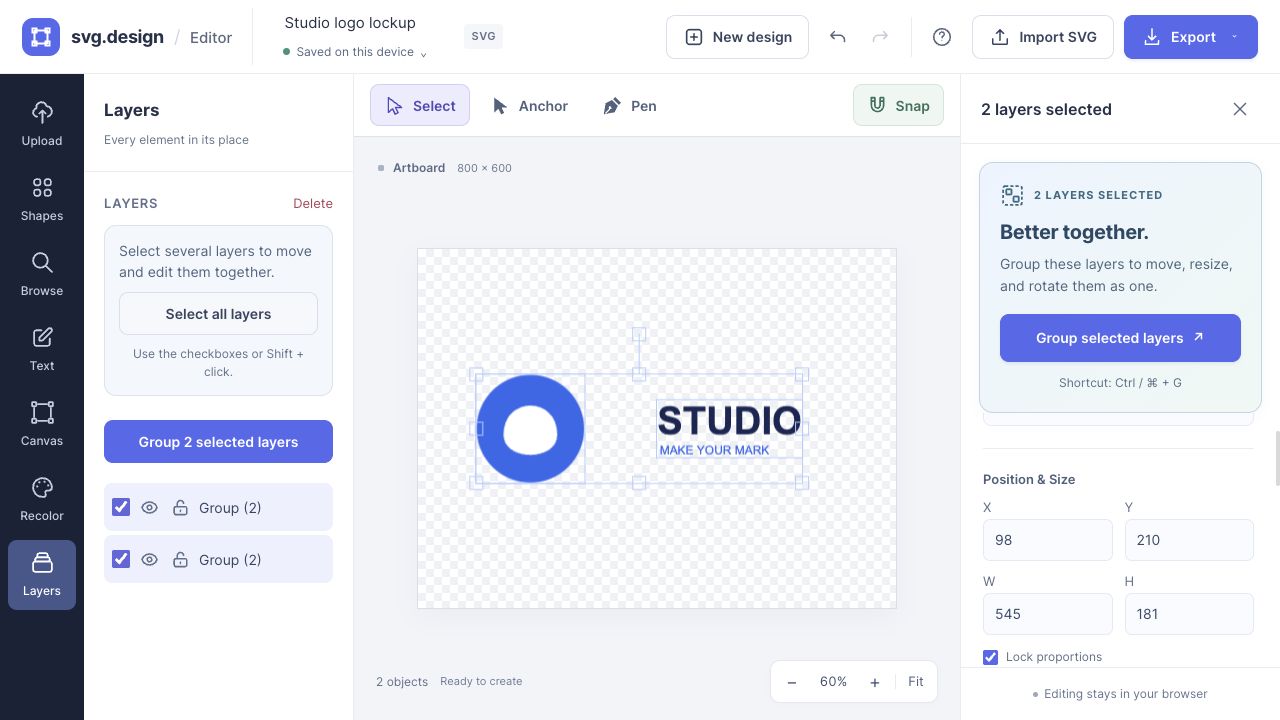
Imported multi-element artwork is grouped so its parts move together. Keep each graphic grouped while placing it in the sheet. Compare every import with the original, particularly when a file uses unavailable fonts or complex effects.
3. Make the sizes and spacing feel consistent
Select each import and resize it with Lock proportions enabled. Matching visible width or height is a useful starting point, but a thin symbol and a dense one may need slightly different sizes to look balanced.
Enable Snap for edges and centers. For repeatable intervals, open Canvas and enable Snap to grid. Use X and Y in Position & Size when you need an exact placement. The editor does not currently calculate equal gaps across a selected set automatically, so inspect the spacing or set positions deliberately.
Add labels with Text if the sheet needs them. Keep labels away from the graphics’ edges and make sure they remain readable at the intended output size.
4. Edit a part without disturbing the whole sheet
Choose Ungroup & edit elements only for an import whose internal objects need changes. Edit a selected shape’s Fill, stroke, or gradient, then regroup its parts when finished.
Use Recolor carefully: a matching color repeated across different imports can change in all of them. For one isolated object, use its individual Fill controls instead.
5. Organize and export one document
In Layers, select the components that should move together and choose Group selected layers. You can keep icon groups nested inside a larger composition group. Grouping organizes objects; it does not weld their outlines into one path.
Check all artboard edges, then choose Export → SVG. Keep this file as a durable backup alongside the source imports. A PNG export is useful for a preview, but keeps a fixed pixel rendering rather than separately editable vectors.
What this combined file contains
The result is one SVG drawing with the arranged artwork. It is not automatically a symbol-based developer sprite, and it does not perform a Boolean union of overlapping shapes. Keep those requirements separate from creating a visual sheet.
For large outputs, compare a copy in the optimizer. Retain the editable composition and the original asset files so you can revise individual items later.
Make it yours.
Keep this guide open and give it a try.